The purpose of a Choice is to group various Recipes, Choices, or Instructions together as options that you could choose from when selling a dish.
To create, search for, or amend an existing Choice, go to the Stock Admin page, then select the Choices page from the left-hand side menu.
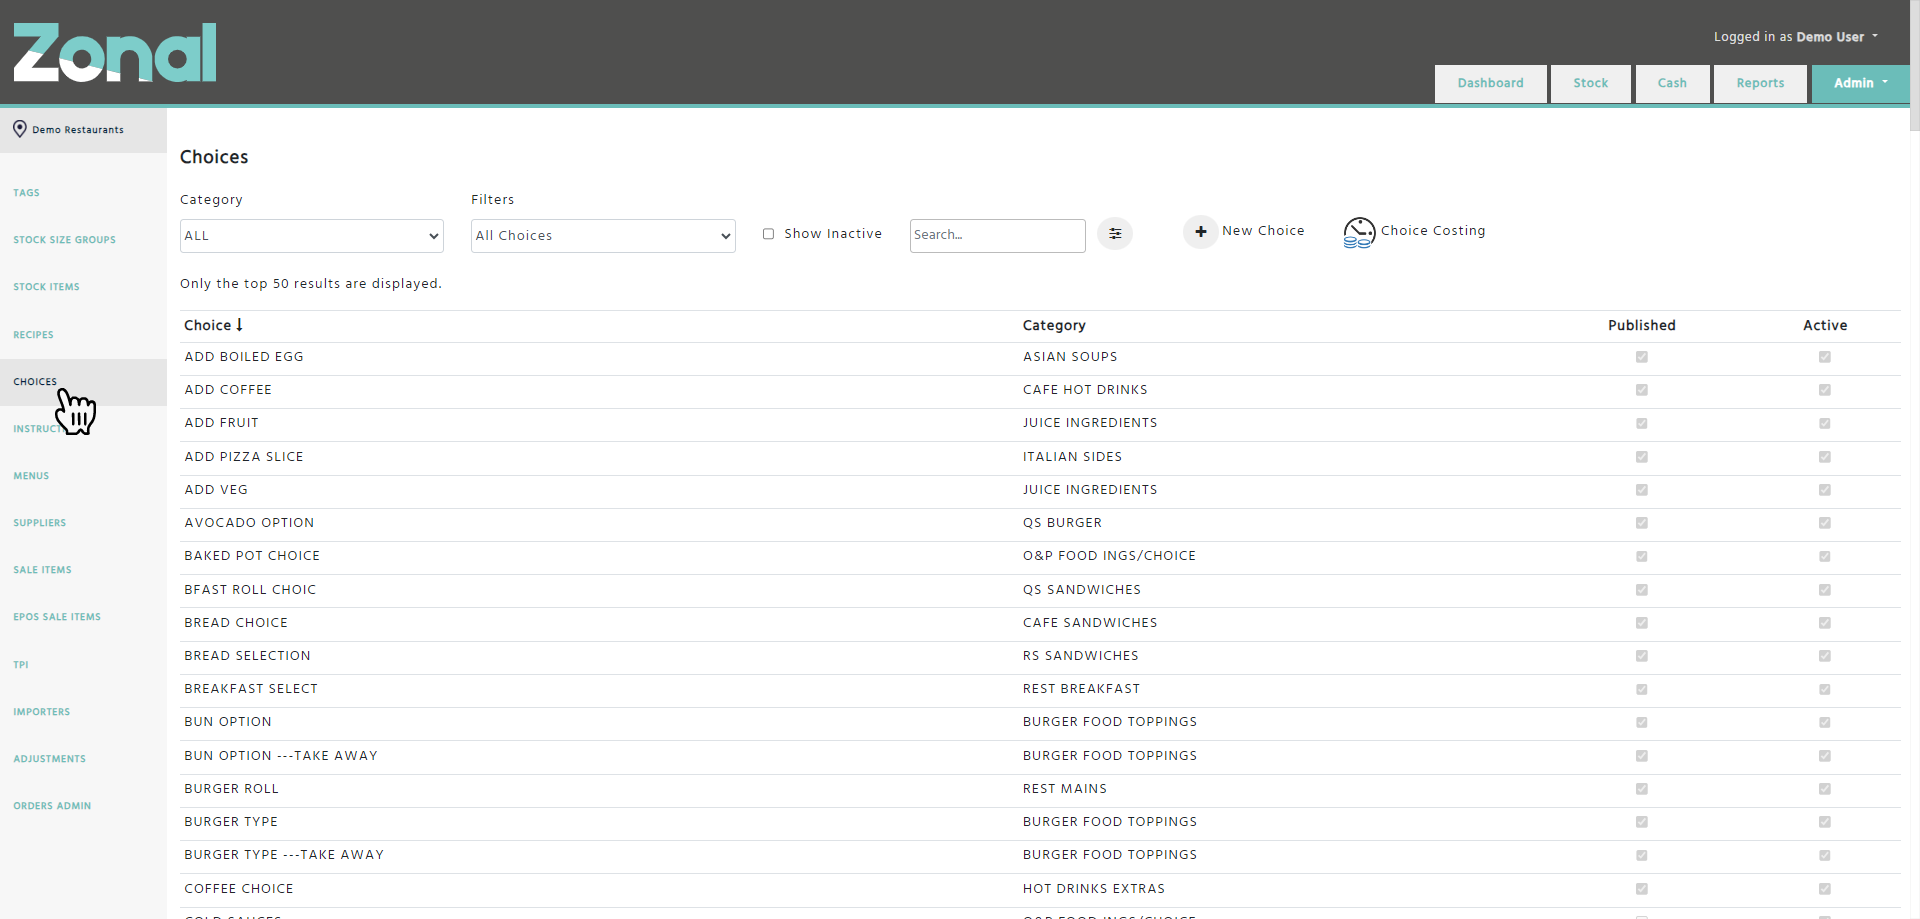
Creating a new Choice
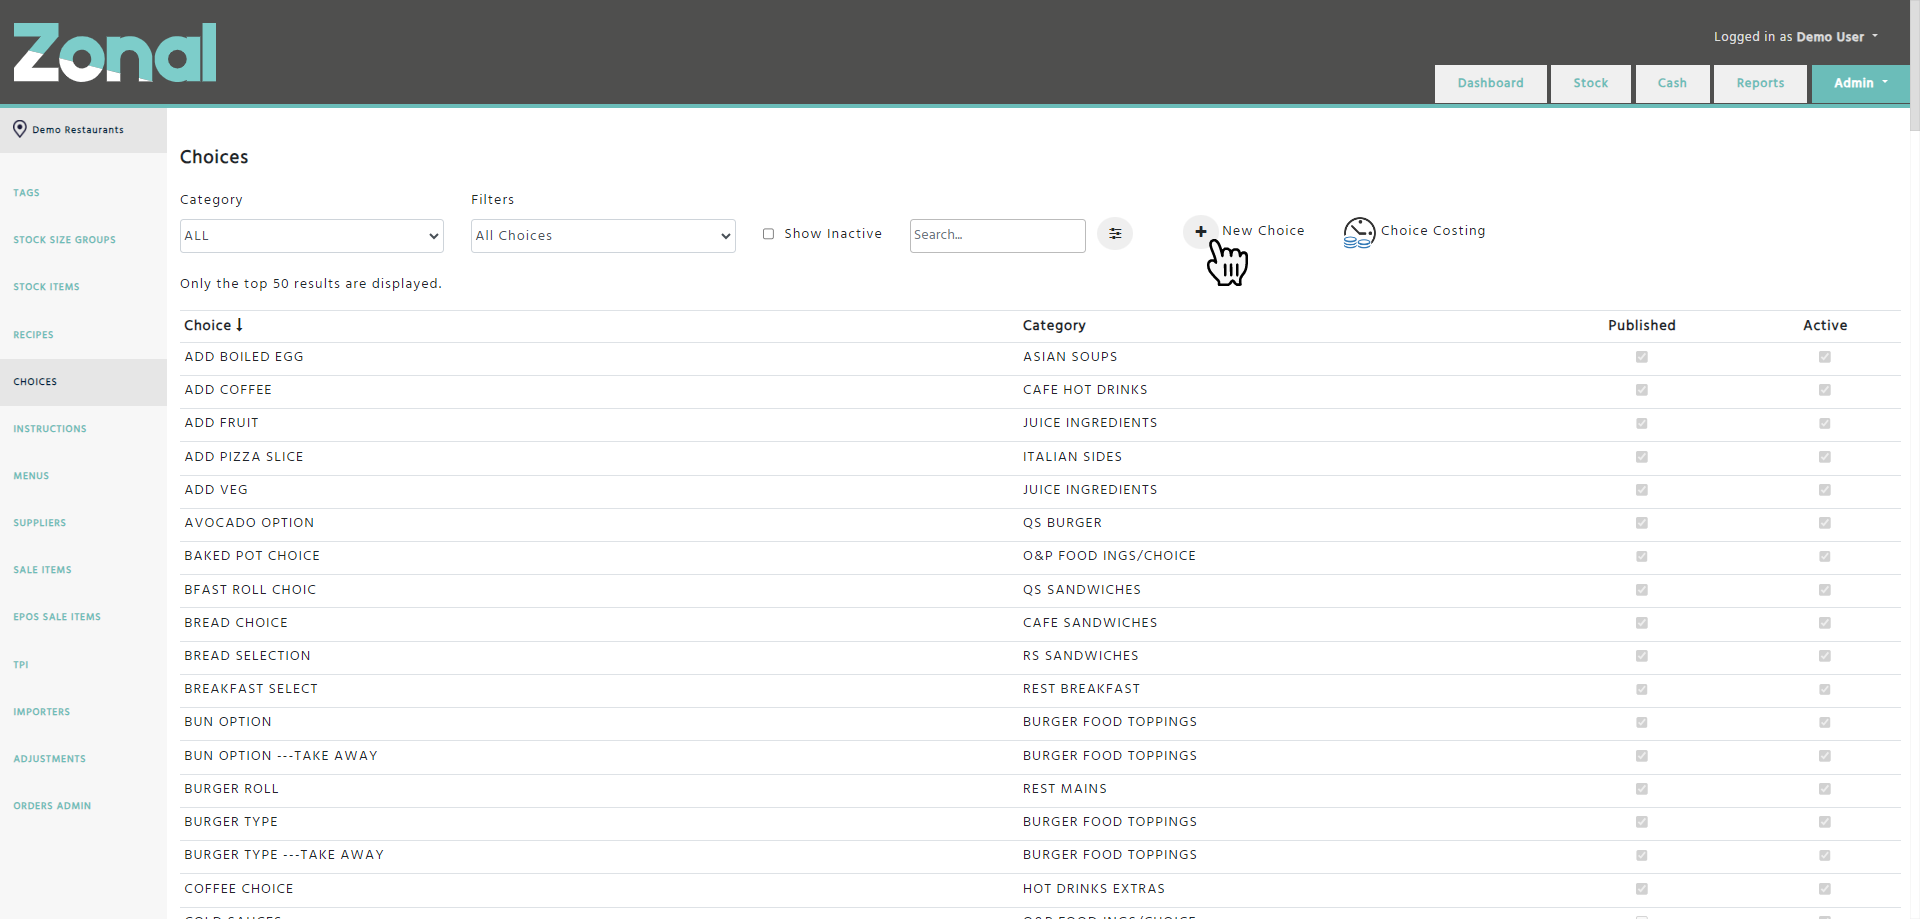
Step 1
Click on the ‘New Choice' Button.
Step 2
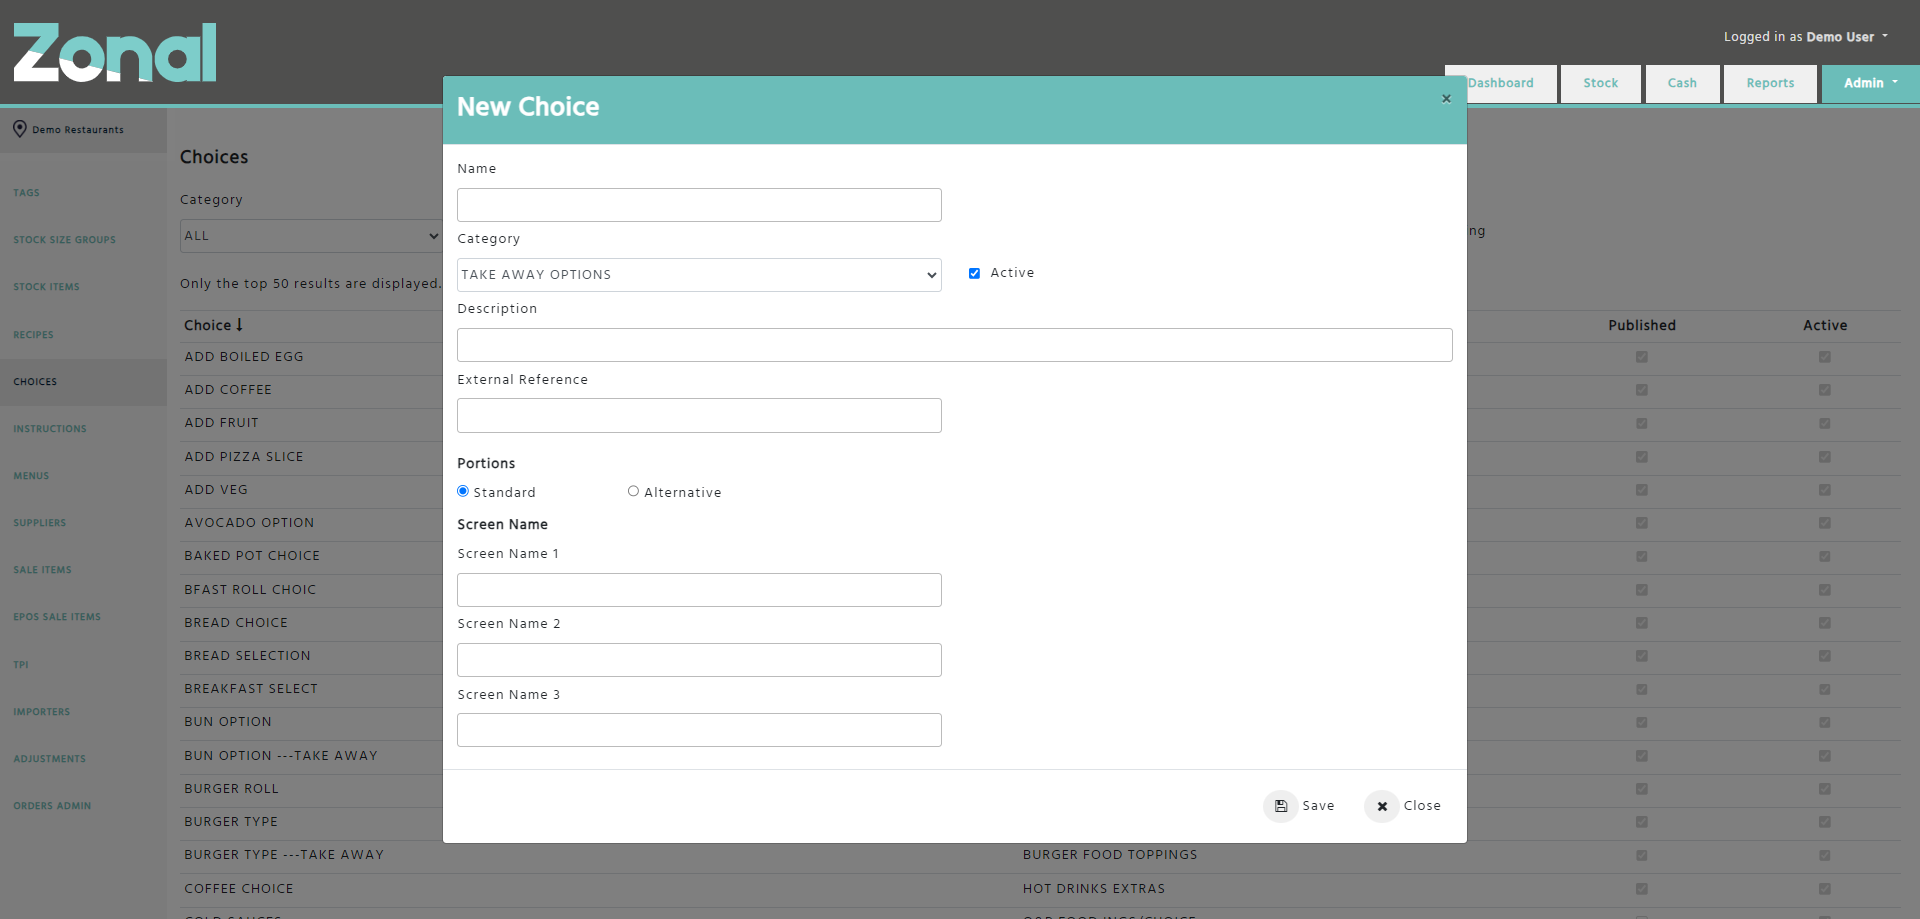
Complete the below fields for the new Choice, then click on the ‘Save’ button.
Name – Enter a name up to 16 characters, which will then be populated as the ‘Retail Name’ field in Aztec.
Please note, the name of the Choice must be unique.
Category – Select the relevant Category such as Starters, Mains, etc. The Categories will correspond with the Subcategories in Aztec. If you would like to add a new Subcategory, or edit an existing one, you will need to do this in Aztec and the changes will have to be imported into Enterprise.
Active – This field will be automatically flagged. If a Choice won’t be used anymore and should be hidden from the users’ view, you will be able to unflag this field.
Description – If you would like to add any extra information about the Choice, you will be able to enter that information up to 40 characters, which will then be populated as the ‘Description’ field in Aztec.
External Reference – If you would like to add an external reference information about the Choice, you will be able to enter that information up to 15 characters, which will then be populated as the ‘Import/Export Ref’ field in Aztec.
Portions – You will have to decide, whether the Choice is going to be a standard portion, or an alternative portion of another Choice. If you would like the Choice to be an alternative portion, click on the ‘Alternative’ field, select the name of a standard portion Choice, then select a portion name from the drop-down list.
Screen Name – The 3 screen name fields will be automatically populated based on the entered Choice name, which will then be populated as the Touch Screen name in Aztec. If you would like to amend any of the screen name fields, you can change the entries up to 8 characters in each field.
Step 3
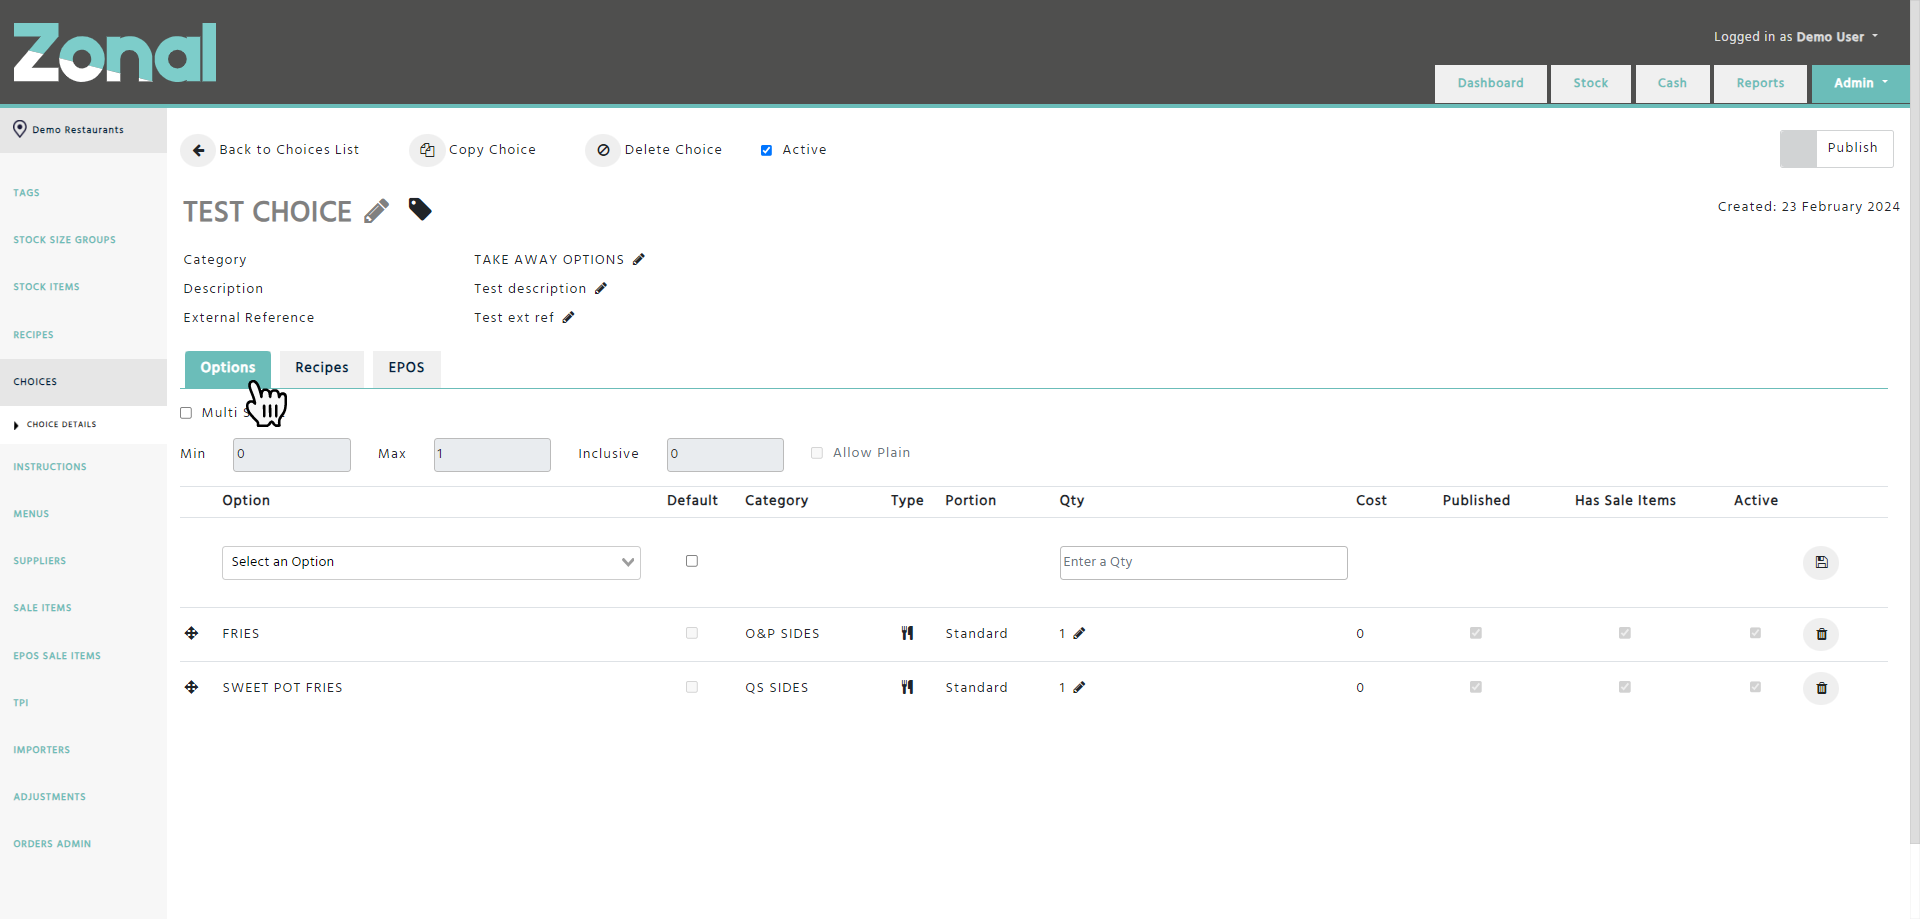
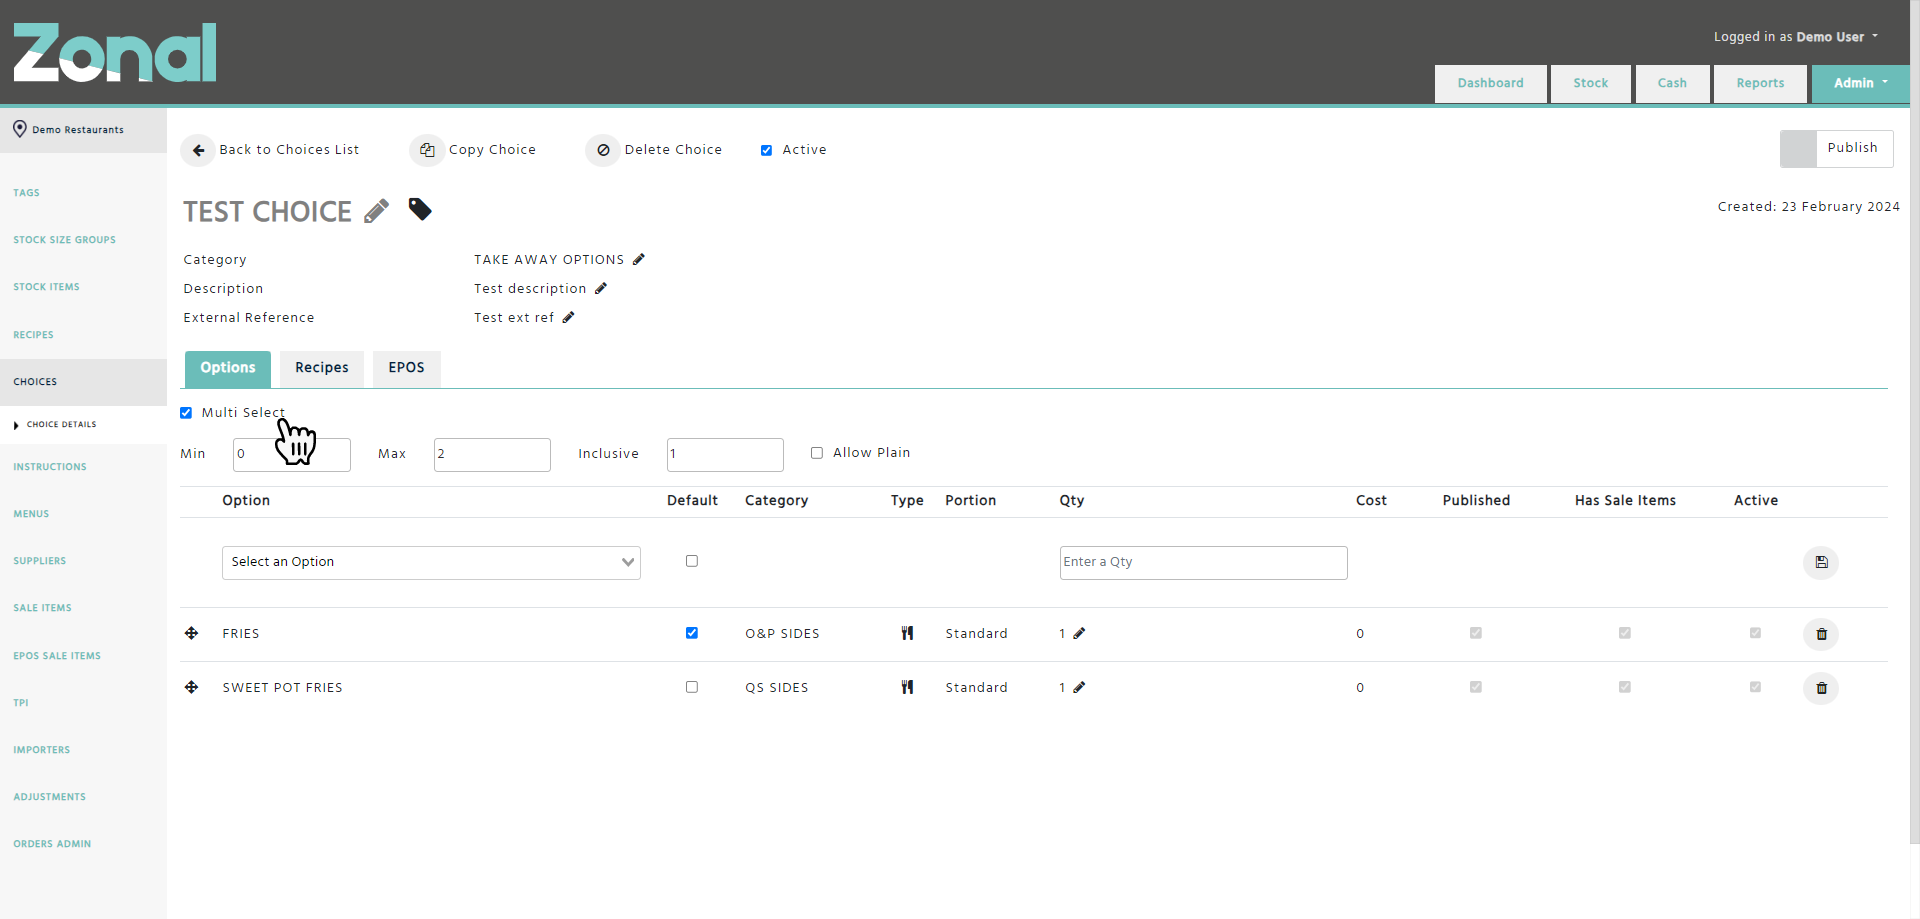
Once the Choice is created, you will need to add the relevant options to it under the Options tab.
To add an option, enter a name of a published Recipe, Choice, or Instruction within the ‘Option’ field, enter the relevant quantity, then click on the save button. Repeat this step as many times as required to add further options.
The added options can be sorted by drag and dropping them, which can be useful when you would like to see the options in a specific order within a Choice.
Step 4
Configure the below fields within the Multi Select section if required.
Min – Enter a number to specify the minimum amount required, which means on the POS a team member will have to select at least that many options within the Choice.
Max – Enter a number to specify the maximum amount required, which means on the POS a team member will only be able to select up to the maximum number of options within the Choice.
Inclusive – Enter a number to specify how many options will be inclusive in a Choice without incurring any extra charges on the POS. For example, you have a menu item named Pizza with one topping where customers we can buy a pizza with one topping included in the overall price, but any additional toppings will be chargeable at the set standard price.
Allow Plain – Flag this field if you do not want any options to be selected within the Choice, which will allow you to sell a Recipe as plain.
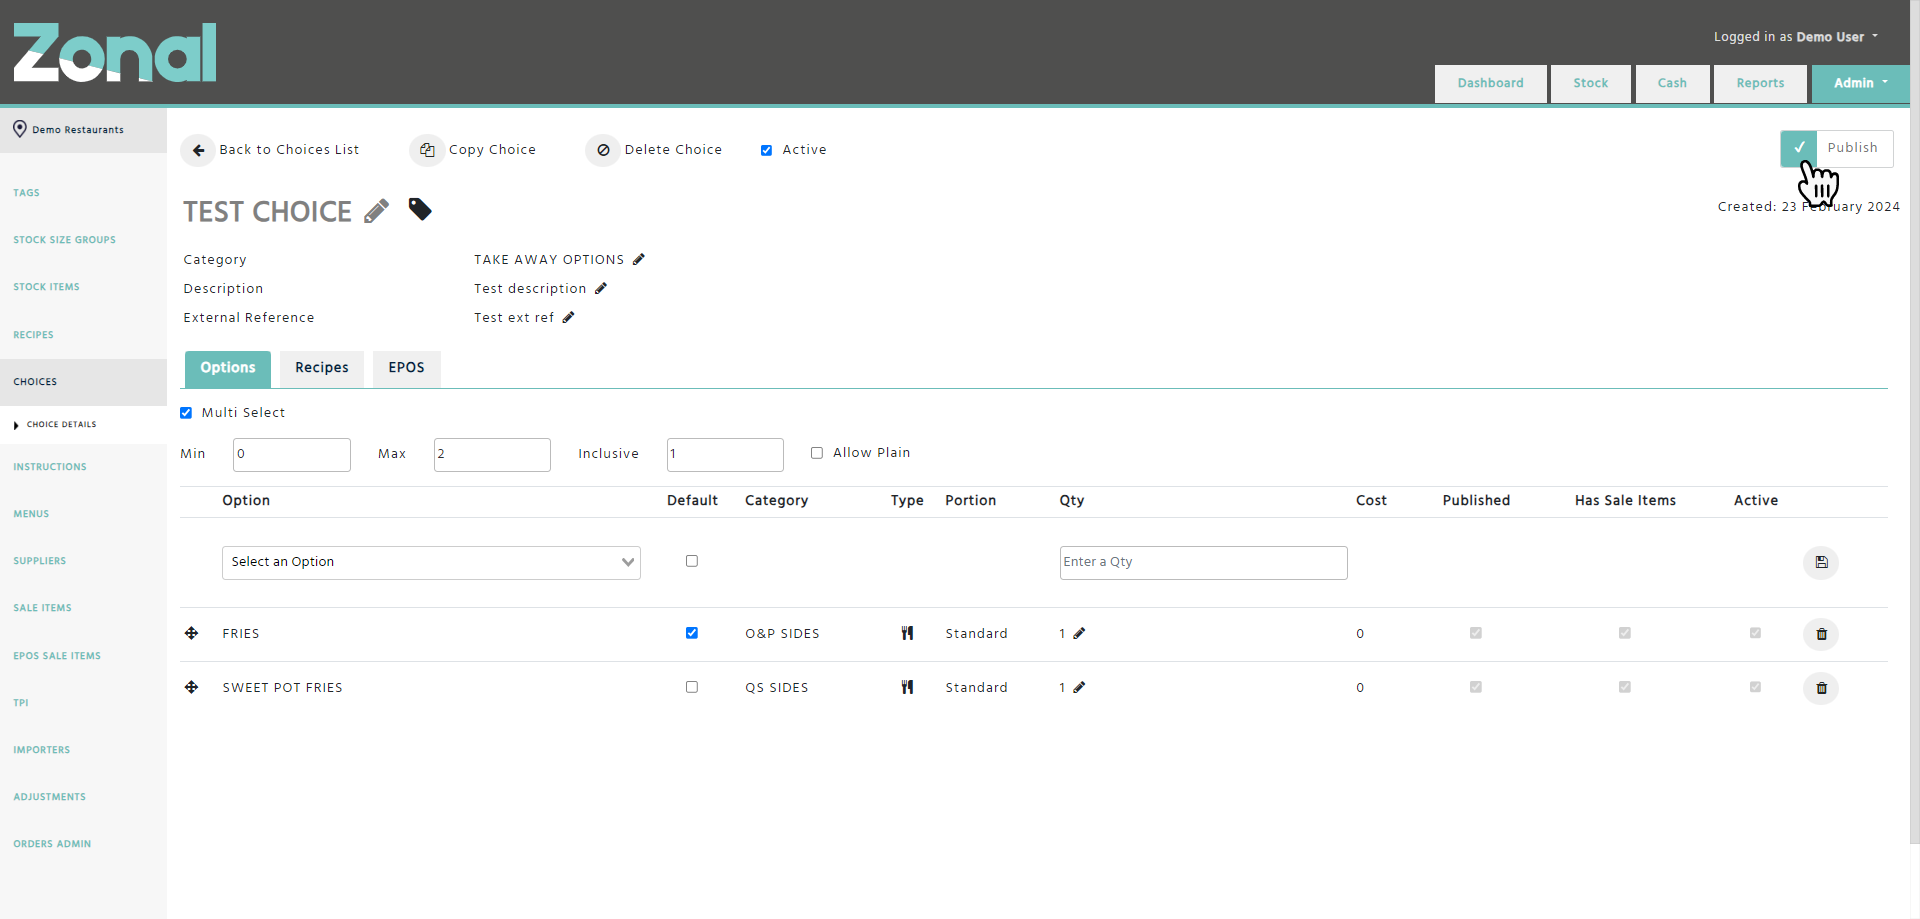
Step 5
Flag the ‘Publish’ field so that the Choice will be exported to Aztec once the next export happens.
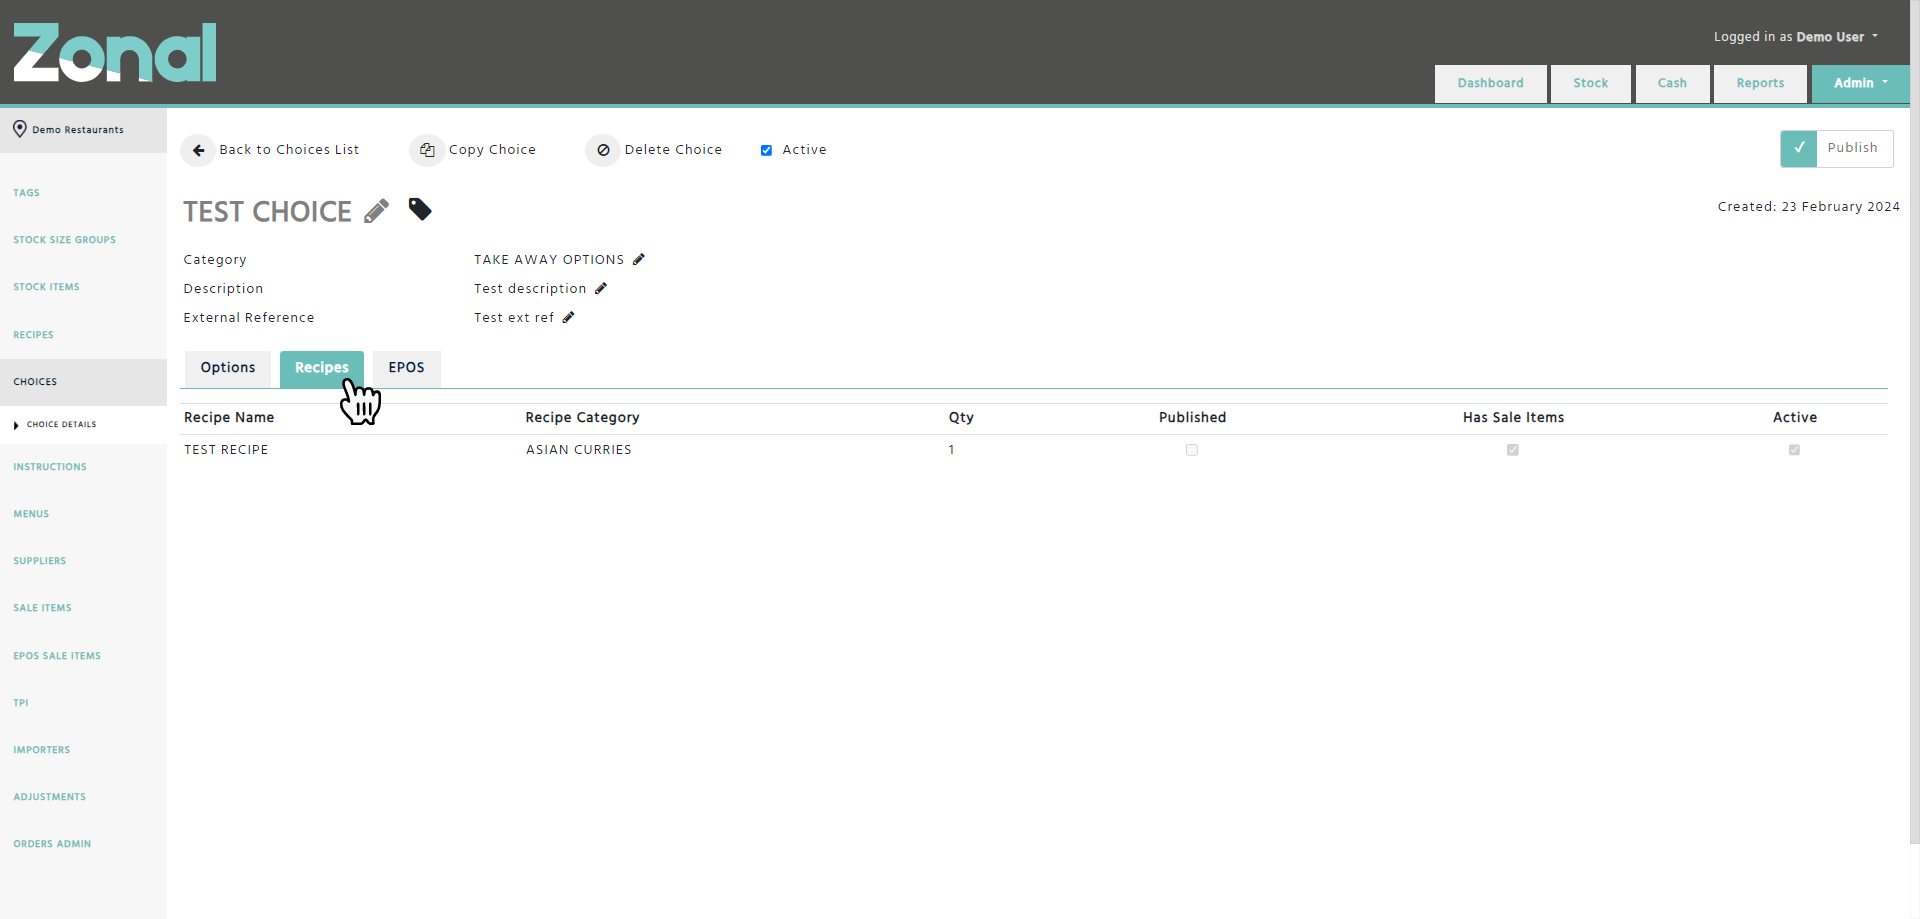
Recipes tab
If you would like to see which Recipes or parent Choices are using your Choice as an option, select the ‘Recipes’ tab.
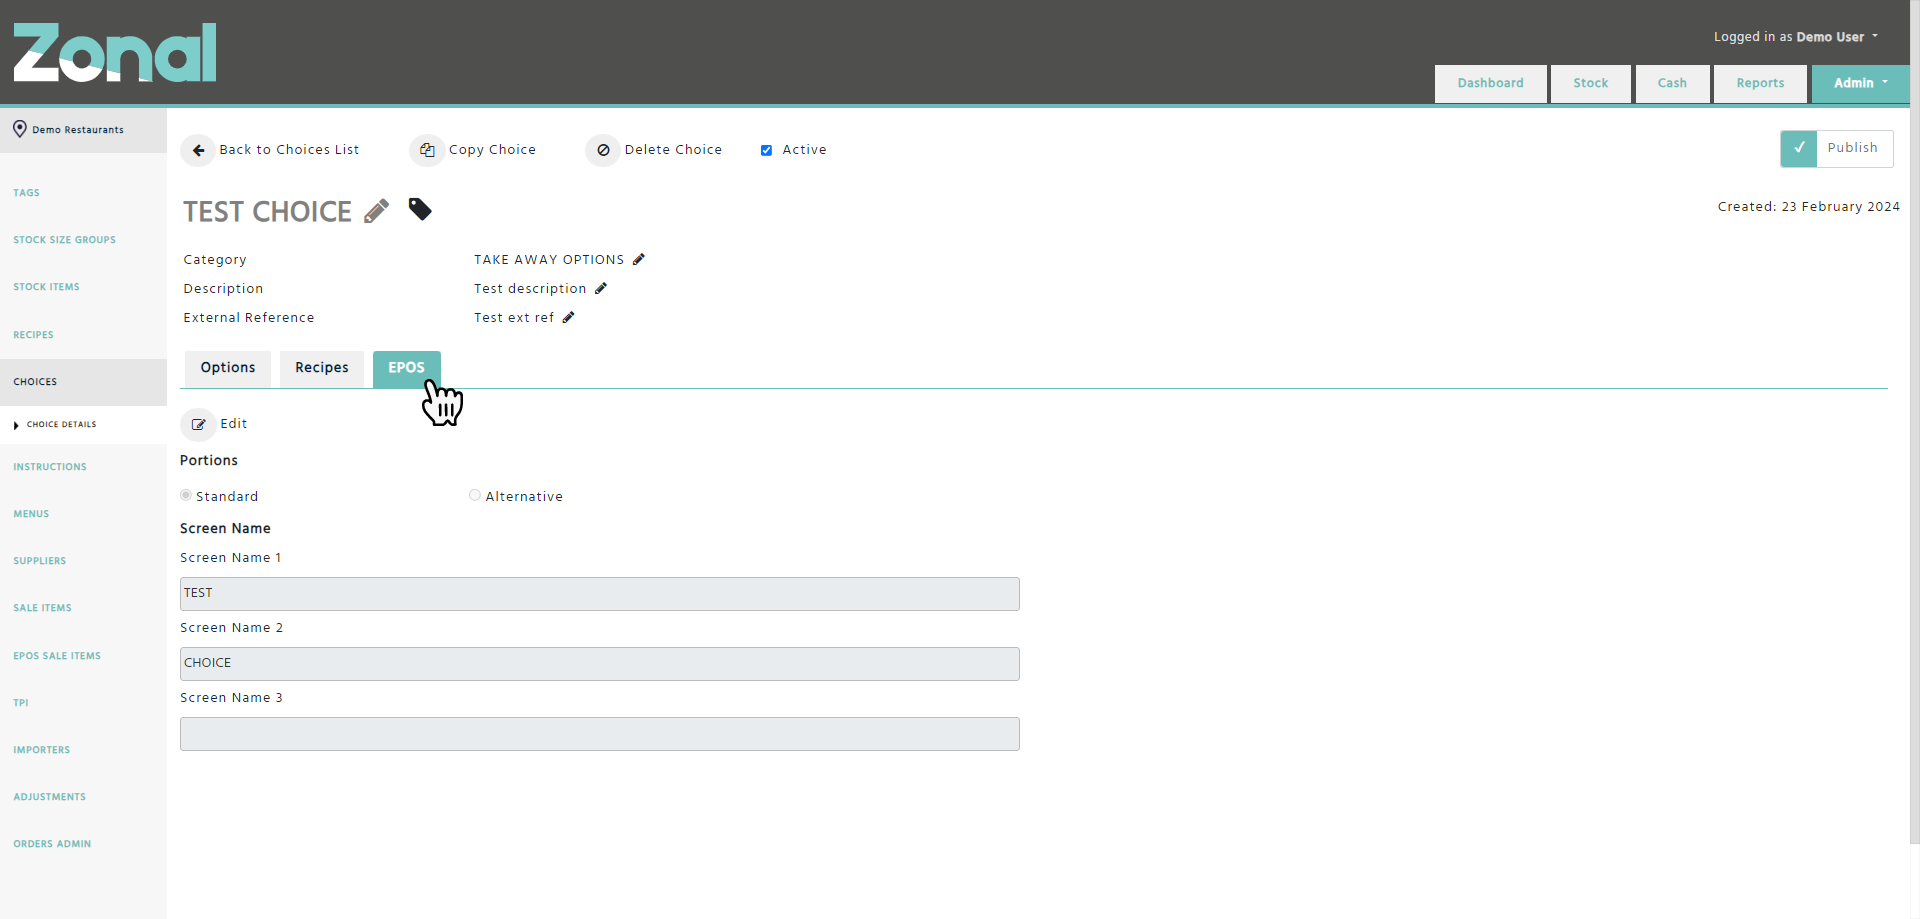
EPOS tab
The EPOS tab will allow you to change the ‘Screen Name’ fields for your Choice, and it will indicate the portion type of your Choice.
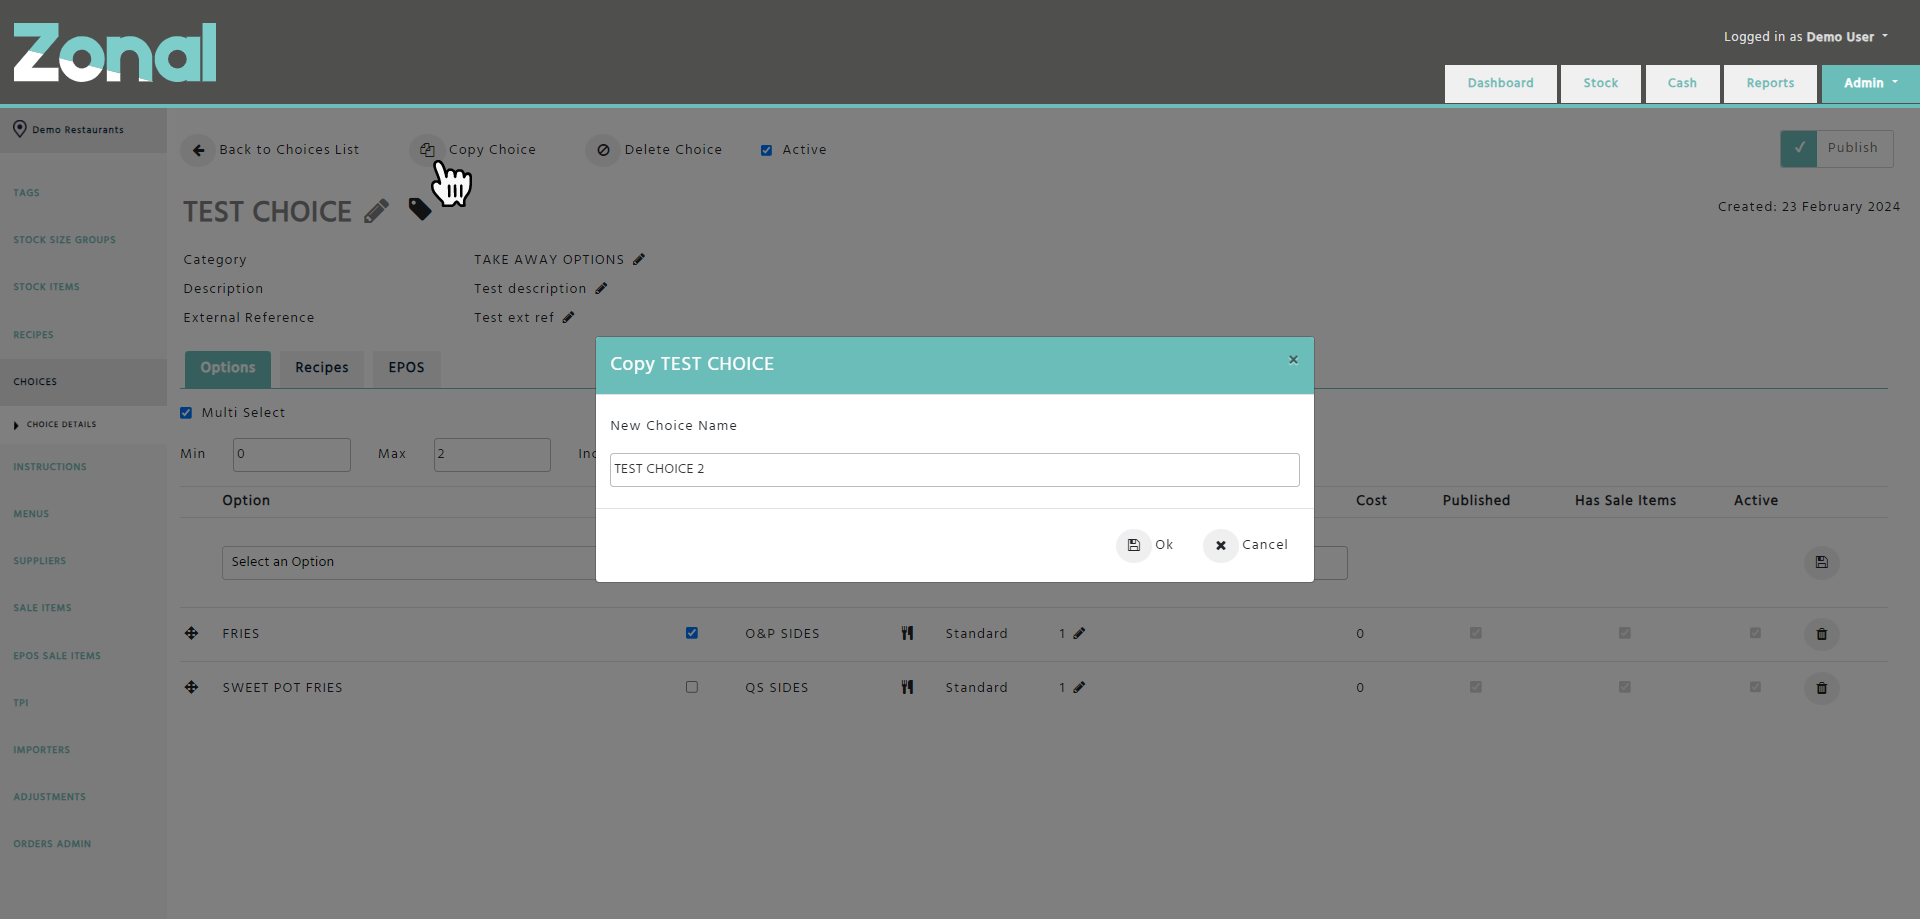
Copying a Choice
If you would like to copy a Choice, click on the ‘Copy Choice’ button, enter a name for the new Choice, then click on the ‘Ok’ button.
Important notes
-
If you copy a Choice that has entries within its ‘Description’ and ‘External Reference’ fields, the values for those fields will not be copied for the new Choice.
-
If you copy a published Choice, the newly copied Choice will not be created as published.
Important Notes
-
Following the initial Aztec import, a Choice with multiple portions will be broken down into multiple Choices.
-
The name of an alternative portion Choice will be the combination of the standard portion Choice’s name followed by three dashes, then the portion name.
When adding an option into an alternative portion Choice, the option will be automatically added with '0' quantity into the linked standard portion Choice as well, but only if none of the portions of that option exist within that standard portion Choice. -
When deleting an option from an alternative portion Choice, the option will be automatically deleted with all of its portions from the linked standard portion Choice as well, but only if that option has a '0' quantity within the standard portion Choice, and that option with any of its portions is not used in any other alternative portion Choices.
-
When deleting an option from a standard portion Choice, the option will be automatically deleted with all of its portions from all linked alternative portion Choices as well.
-
A Non Multi Select Choice can only be published if it has at least one option.
-
A Multi Select Choice can only be published if it has at least two options.
-
You cannot delete a Choice if it has already been sent to Aztec, you can only deactivate it.
-
You cannot make a Choice inactive if it has an active alternative portion Choice.
-
The ‘Sort Order’ of the options can only be changed within standard portion Choices, which will then be synced to the linked alternative portion Choices.
-
Only a top-level Choice can be a Multi Select Choice, nested Choices (a Choice within a Choice) can only be sequential Non Multi Select Choices, which means:
-
The 'Multi Select' field cannot be flagged for a Choice if it is already an ingredient of a Recipe that is an option of a parent Choice.
-
A Recipe cannot be added as an option to a Choice when it contains a Multi Select Choice as an ingredient.
-
The number of options can be less or more than the values within the ‘Min’, the ‘Max’, or the ‘Inclusive’ fields.
-
The ‘Inclusive’ field’s value must be less than or equal to the ‘Max’ field’s value.
-
The number of Inclusive options must be greater than or equal to the number of Default options.
-
The ‘Allow Plain’ field can only be flagged if the ‘Min’ field is set to ‘0’, and at least one option is flagged as ‘Default’.
-
A Choice as an option cannot be flagged as ‘Default’ within a parent Choice.
-
A Recipe as an option cannot be flagged as ‘Default’ within a parent Choice if it contains a Choice as an ingredient.